

Exposure in photography refers to the amount of light that is captured by the camera’s sensor or film. It is the result of a combination of three elements: aperture, shutter speed, and ISO. Understanding and controlling these elements is essential for creating well-exposed, visually pleasing images.
Aperture refers to the size of the opening in the lens that allows light to enter the camera. It is measured in f-stops, and the lower the f-stop number, the larger the aperture. A larger aperture (smaller f-stop) allows more light to enter the camera and results in a shallower depth of field, which can be used to create a blurred background effect.

Shutter speed refers to the amount of time that the camera’s shutter is open, allowing light to reach the sensor. It is measured in fractions of a second, and the faster the shutter speed, the less time the sensor is exposed to light. Faster shutter speeds are used to freeze fast-moving action or to prevent blur caused by camera shake.
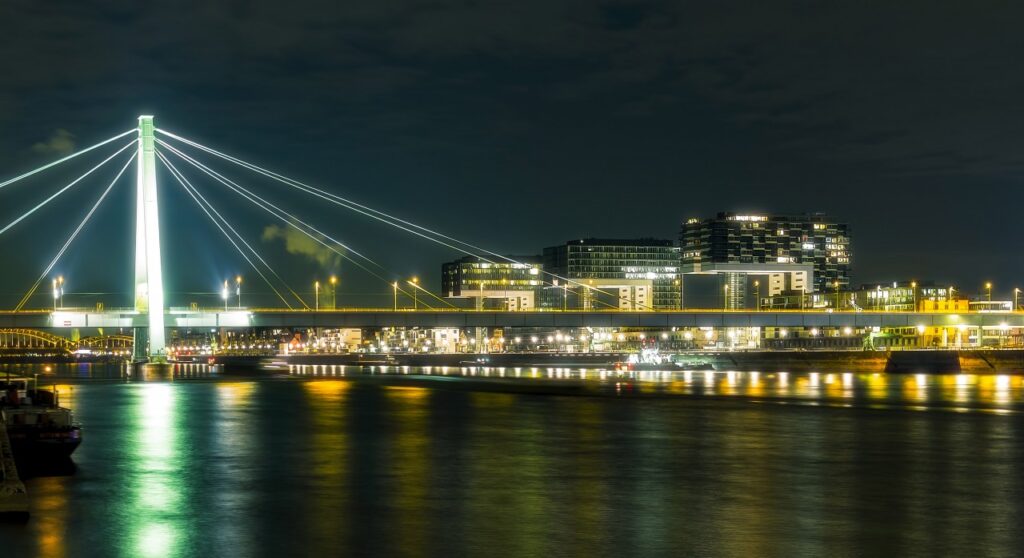
ISO is the measure of a camera’s sensitivity to light. A higher ISO means that the camera is more sensitive to light and can be used in low-light conditions, but it can also result in more noise or grain in the image.
When adjusting these settings, it’s important to consider the relationship between them. Aperture, shutter speed, and ISO all affect the exposure of an image, and changing one will affect the others. For example, using a faster shutter speed means that less light is entering the camera, so you’ll need to compensate by using a wider aperture or higher ISO.
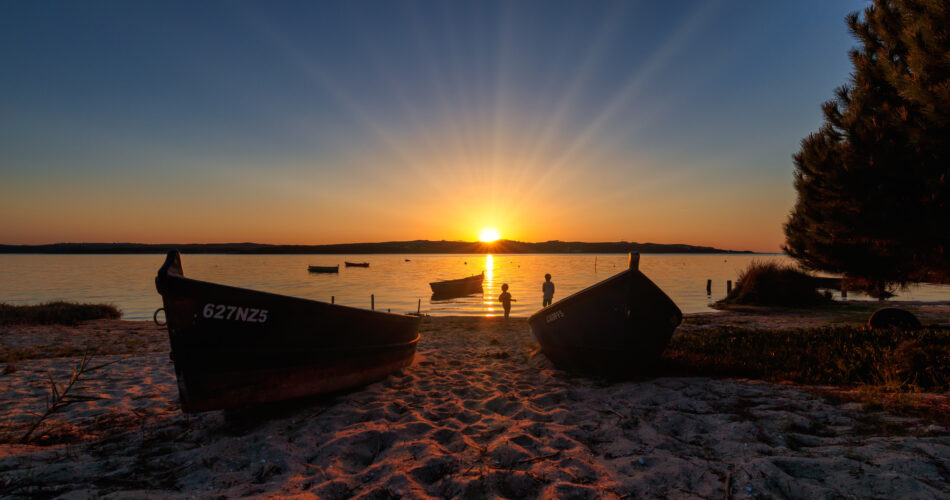
The goal of exposure is to achieve a well-lit, properly balanced image. An under-exposed image is too dark, while an over-exposed image is too bright. To get the correct exposure, photographers use a variety of techniques, including adjusting the aperture, shutter speed, and ISO, using a light meter, and bracketing.
In conclusion, Exposure in photography is the amount of light that reaches the camera’s sensor or film, and it’s controlled by adjusting the aperture, shutter speed, and ISO. It’s a crucial aspect of photography that helps to create a well-lit, properly balanced image.
- Use a light meter: A light meter can help you determine the correct exposure for a scene by measuring the amount of light in the scene and providing you with the appropriate aperture, shutter speed, and ISO settings.
- Understand the relationship between aperture, shutter speed, and ISO: Changing one of these settings will affect the others, so it’s important to understand how they work together to achieve the correct exposure.
- Use manual mode: By shooting in manual mode, you have complete control over the aperture, shutter speed, and ISO settings, allowing you to fine-tune your exposure as needed.
- Bracket your shots: Bracketing involves taking multiple shots at different exposure settings, which can be helpful when you’re unsure of the correct exposure or when working in difficult lighting conditions.
- Watch the histogram: The histogram is a graphical representation of the brightness levels in your image. It can help you understand if your image is underexposed or overexposed and make adjustments accordingly.
- Use a tripod: A tripod can help stabilize your camera and reduce camera shake, which can cause blur in your images.
- Use exposure compensation: Exposure compensation allows you to adjust the exposure of an image without changing the aperture, shutter speed, or ISO.
- Pay attention to the background: Sometimes the background can fool the camera’s meter, so it’s important to pay attention to the background and make adjustments as needed.
- Use filters: Neutral density filters, polarizing filters, and graduated filters can help balance exposure and control the amount of light entering the camera.
- Practice: The more you practice, the better you’ll become at understanding and controlling exposure. Take the time to experiment with different settings and lighting conditions to gain a better understanding of how to achieve the perfect exposure.
